

Quick Answer: Volume automation is the process of programmatically changing a track's level over time inside your DAW. It's what separates a flat, lifeless recording from a mix that breathes, builds, and hits hard. Every professional mix relies on it — and in 2026, there's no excuse for skipping it.
Contents show
Key Takeaways
- A static mix (one where faders never move) is the single biggest reason home recordings sound amateur
- Volume automation is the "performance" layer of mixing — it shapes dynamics, energy, and emotion over time
- Always automate a Gain plugin at the start of your chain, not the channel fader itself
- Riding vocals into the compressor reduces pumping and preserves natural tone
- A +1 to +2 dB boost on the chorus bus is usually all it takes to make a section explode
- Use Touch mode for quick fixes, Latch mode for long rides, and Write mode only when you know exactly what you're doing
- AI tools like Waves Vocal Rider and iZotope Neutron can handle rough leveling — but manual rides still win for feel
- Always do a final vibe check at low volume to catch over-automation
Why Your Static Mix Sounds Flat (And What's Actually Missing)
A mix with no automation is like a film with no score — technically fine, emotionally inert. Volume automation is the single most powerful tool for making a song feel alive, and it's the one thing most home producers skip entirely.
Here's the honest truth: your faders, EQ, and compression can all be dialed in perfectly, and the mix can still feel lifeless. Why? Because music isn't static. A verse is supposed to feel different from a chorus. A whispered vocal line should feel closer and more intimate than the belted hook that follows it. Static levels can't do that. Only volume automation can.
Think of automation as the performance phase of mixing. You've captured the notes. You've shaped the tone. Now you're conducting the energy.
Gain vs. Volume Automation: The Golden Rule You Can't Ignore
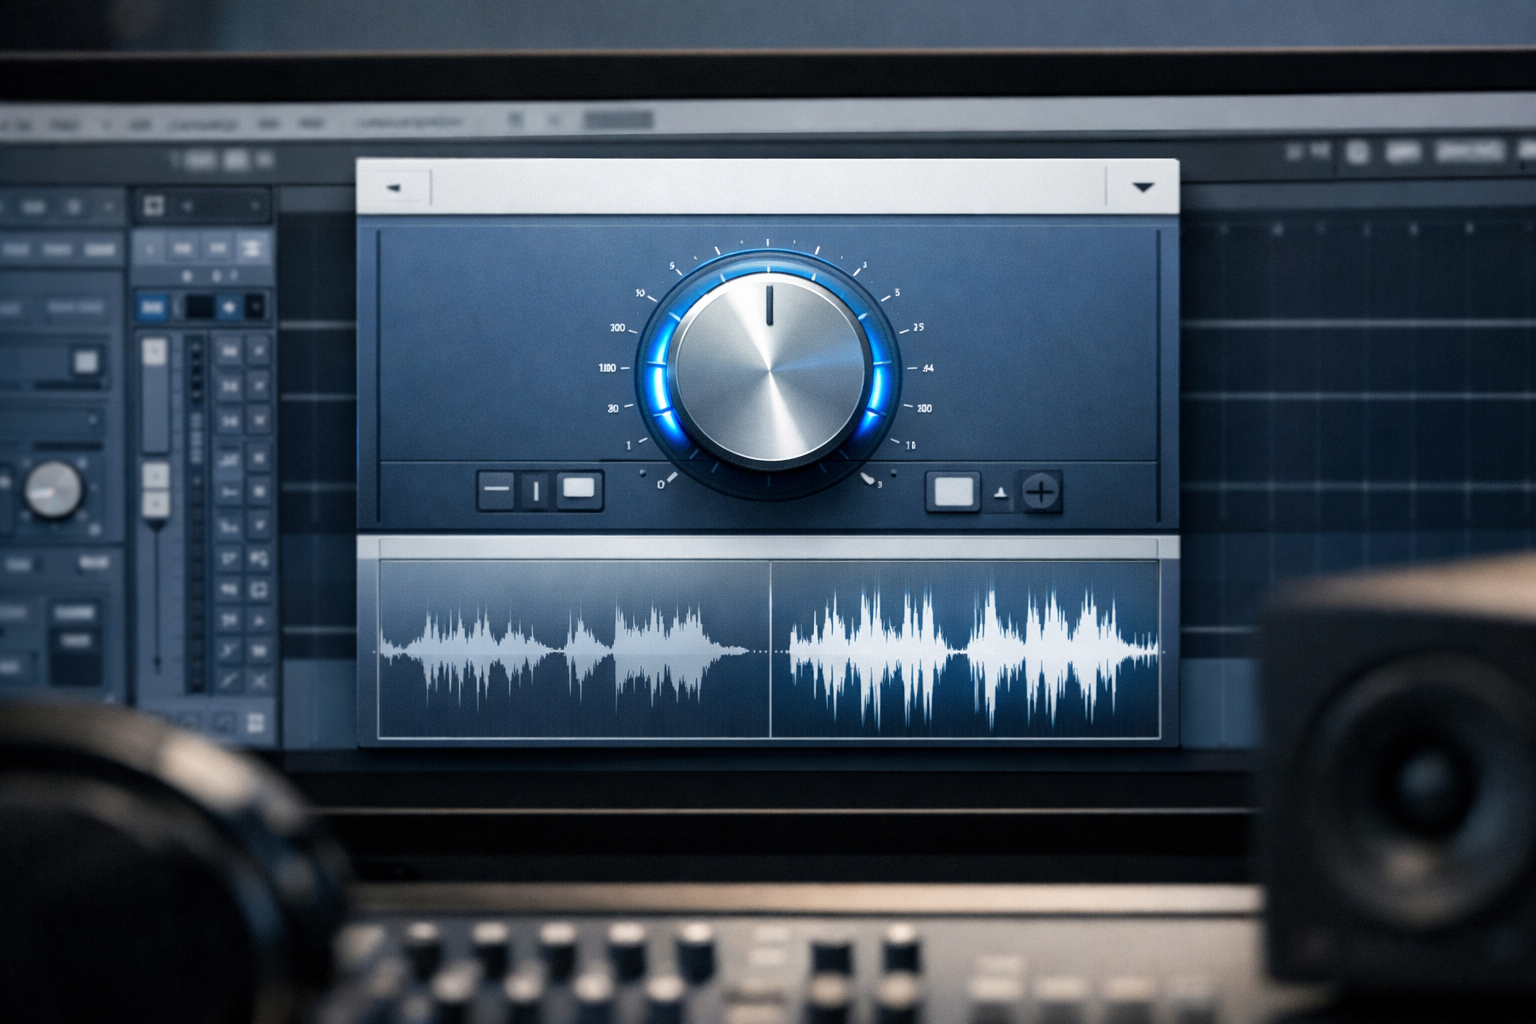
Never automate the channel fader for level correction. Use a Gain plugin instead. This is the rule that trips up almost every beginner — and plenty of intermediate producers too.
Here's why it matters. Your channel fader controls the final output level of that track. If you draw automation on it to fix a loud word in a verse, you've now locked that fader in place. Later, when you want to pull the whole vocal down 1 dB to sit better under the guitars, you can't just grab the fader and move it — your automation fights you.
The fix is simple:
- Insert a Utility (Ableton), Trim (Pro Tools), or Gain plugin as the very first plugin on the channel
- Draw all your corrective level moves on that plugin's gain parameter
- Leave the channel fader free for big-picture balance decisions
This keeps your workflow clean and your sanity intact. The fader becomes a mixing tool. The gain plugin becomes a performance tool. They do different jobs — keep them separate.
The Pre-Compression Ride: The Technique That Changes Everything
Riding the vocal level before the compressor is one of the most important techniques in professional mixing, and most home producers have never heard of it.
Here's the problem it solves. A compressor works by responding to peaks in the signal. If your vocalist sings a verse quietly and then belts the chorus, the compressor has to work much harder on the loud parts — which means more gain reduction, more coloration, and that telltale "pumping" sound that makes a vocal feel processed rather than present.
The pre-compression ride fixes this:
- Insert your Gain plugin before the compressor in the chain
- Automate the gain to gently push up the quiet phrases and pull back the loudest ones
- Aim to reduce the dynamic range by roughly 4–6 dB before the signal even hits the compressor
- The compressor then works consistently across the whole performance — less pumping, more transparency, and the singer's natural tone stays intact
This is what engineers mean when they talk about how to make vocals sit in the mix. It's not just about EQ. It's about feeding the compressor a signal it can actually handle gracefully. For a deeper look at compression itself, the guide to using a compressor is worth bookmarking.
Strategic Volume Automation: Mixing in Three Dimensions
Great automation isn't just about fixing loud words. It's about shaping the three dimensions of a mix: clarity, energy, and space.
The Vertical Dimension: Clarity
This is about managing frequency conflicts in real time. When the lead vocal enters, a competing guitar part might need to drop 1–2 dB. When the guitar solo hits, the keys can duck slightly. You're not using a sidechain compressor here — you're manually sculpting the arrangement so the most important element always has room to breathe.
The Horizontal Dimension: Energy
This is the "+1 dB Rule." When the chorus hits, the entire music bus (everything except the lead vocal) gets a subtle 1 to 2 dB boost. That's it. It sounds almost too simple, but it's the difference between a chorus that arrives and one that explodes. Pair this with a slight high-frequency shelf boost on the drum bus and the effect is even more pronounced.
The Depth Dimension: Space
Automate your reverb and delay send levels, not just the dry tracks. Keep verses dry and close — that intimacy pulls the listener in. When the chorus hits, open up the reverb send on the vocals and let the space expand. The contrast between tight and vast is what makes a chorus feel like release. This pairs naturally with understanding what mastering does to the final sound — space decisions made in mixing carry through to the master.
The 4 Automation Modes Explained
Every DAW has multiple automation modes. Using the wrong one at the wrong time wastes hours.
| Mode | What It Does | Best Use Case |
|---|---|---|
| Read | Plays back existing automation, ignores fader movement | Default playback — always start here |
| Touch | Records fader movement while held; snaps back on release | Quick one-word fixes on a vocal |
| Latch | Records movement; holds the last position when released | Long vocal rides through a whole section |
| Write | Overwrites all existing automation continuously | Starting from scratch on a new pass |
A word on Write mode: it's the danger zone. The moment you hit play, it starts overwriting everything — including automation you spent an hour perfecting. Use it only when you're deliberately starting a lane from zero. Touch and Latch are your daily drivers.
Advanced Workflow: VCA and Bus Automation
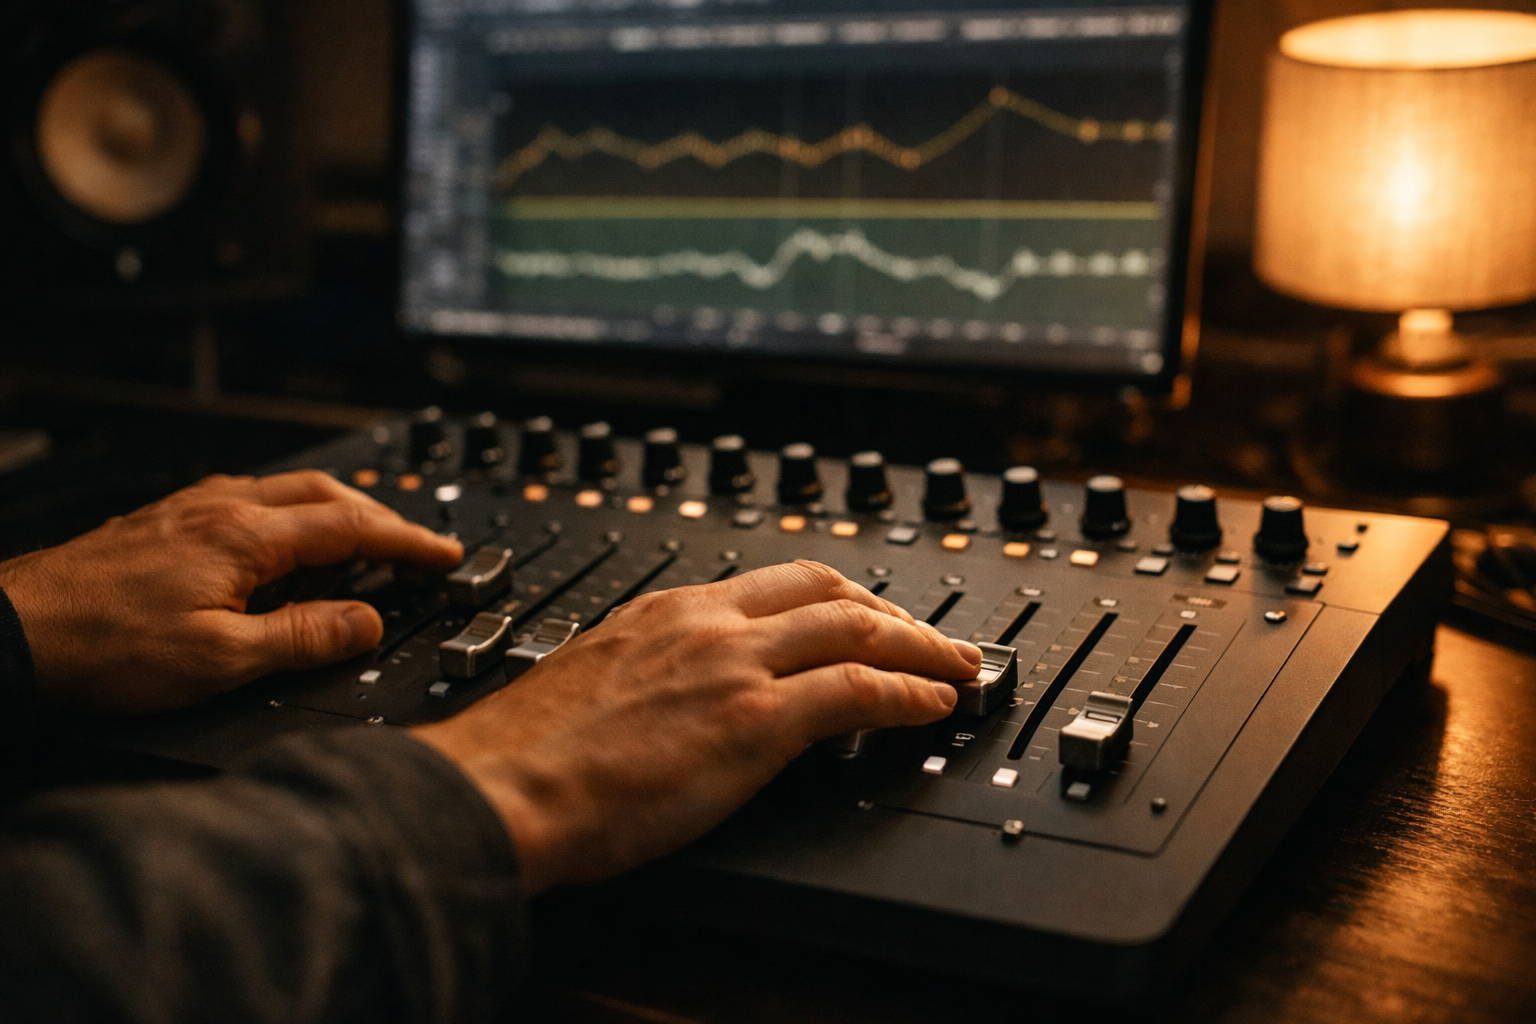
Once individual tracks are riding well, zoom out and automate at the bus level. This is where the song's overall energy gets shaped.
Group riding means automating the drum bus, the music bus, or both to create macro-level dynamic shifts. A 1.5 dB lift on the drum bus going into the final chorus, combined with a 1 dB lift on the music bus, creates a sense of the whole track surging forward — without touching a single individual track.
VCA faders (available in Pro Tools, Neve-style consoles, and some DAW channel strip plugins) let you control a group of tracks simultaneously while each track retains its own relative balance. Automate the VCA up by 2 dB and every track in the group rises together, proportionally. This is how large-format console engineers have been shaping song energy for decades, and it translates directly into the box.
For producers working on more complex arrangements, this workflow connects directly to how to prepare a mix for mastering — a well-automated mix gives the mastering engineer far less to fix.
Tools of the Trade: Manual, Plugin, and AI Options
You don't need expensive hardware to automate well. But the right tools make the process faster and more musical.
Hardware controllers:
- PreSonus FaderPort — single motorized fader, affordable, great for vocal rides
- Softube Console 1 — channel strip controller with hands-on feel for mix automation
Intelligent plugins:
- Waves Vocal Rider — analyzes the vocal in real time and writes gain automation automatically; great for a first pass
- Waves Bass Rider — same concept for bass guitar, keeps low-end consistent without heavy compression
- iZotope Neutron — uses AI to suggest level balance across tracks; useful for rough leveling before manual rides
The honest take on AI tools: they're excellent for the corrective layer (fixing inconsistent levels), but they can't replicate the intentional layer (the emotional shape of a performance). Use them to save time on the technical work, then do your manual rides on top for feel. You can explore more options in the best free plugins guide for budget-friendly starting points.
The Volume Automation Workflow: A Step-by-Step Checklist
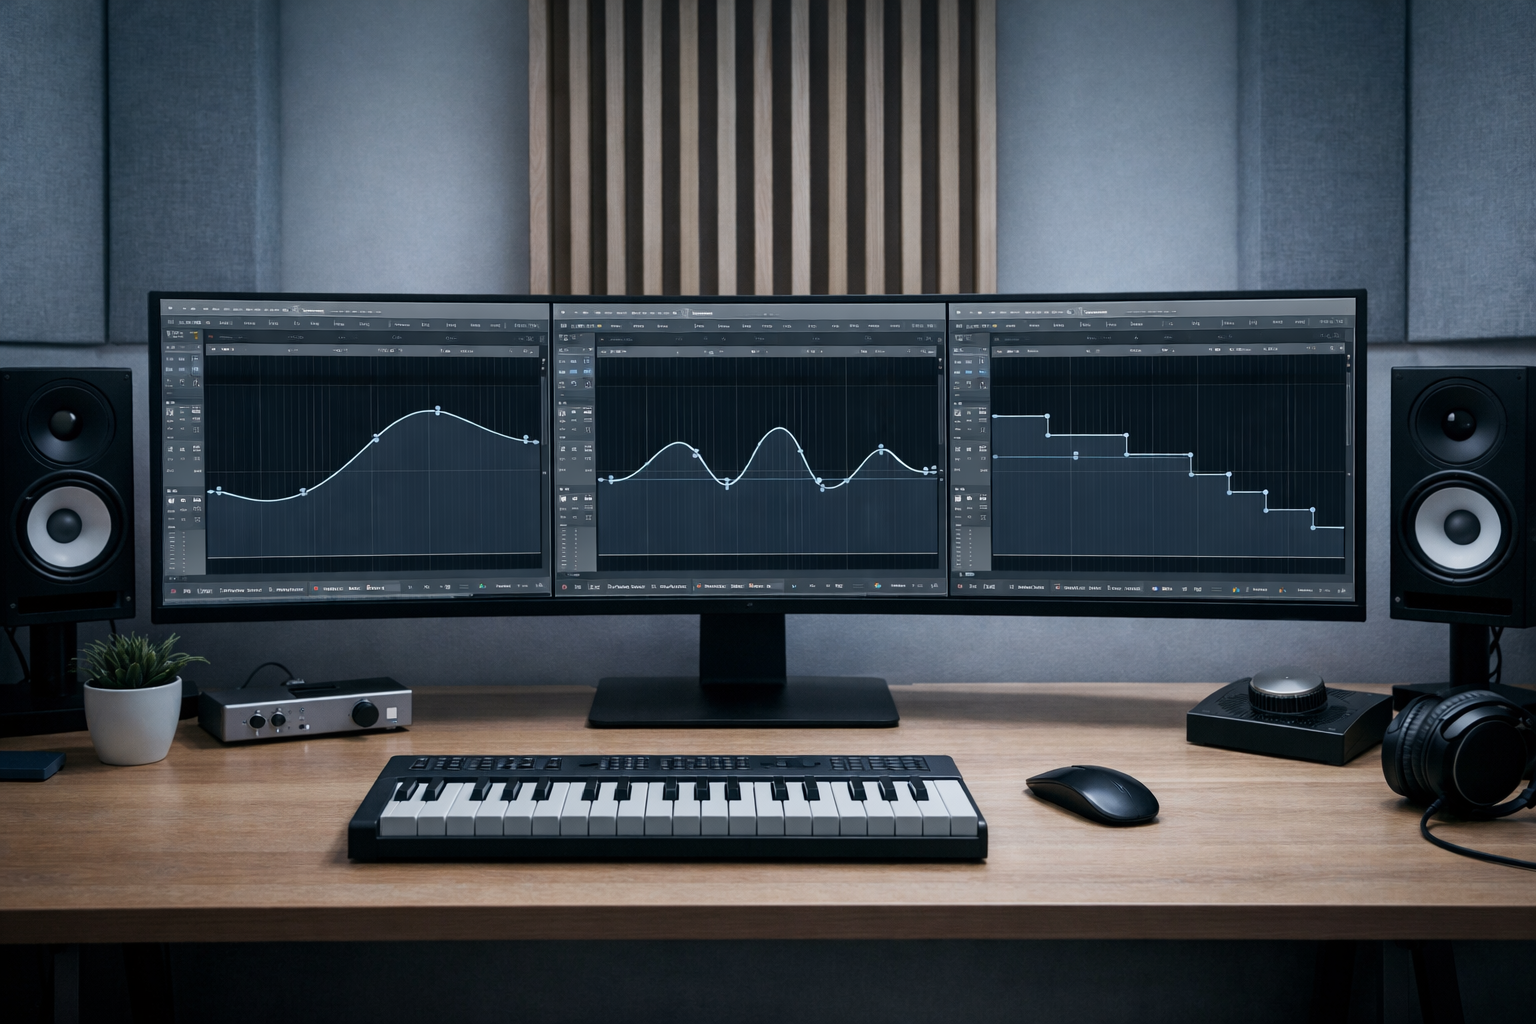
Follow this order every time and the process becomes second nature.
Step 1: Balance the static mix first.
Get a rough balance with all faders before touching automation. Automation can't fix a fundamentally unbalanced mix.
Step 2: Insert Gain plugins for pre-FX leveling.
Add a Gain/Trim plugin before the compressor on every lead element (vocals, lead guitar, keys). Automate these to reduce dynamic range before compression.
Step 3: Ride the vocals and lead instruments.
Use Latch mode. Play the song from the top and ride the vocal through every section. Focus on phrase-level consistency — not word-level fixes (save those for Touch mode passes).
Step 4: Automate section energy.
Apply the +1 to +2 dB chorus boost on the music bus. Automate reverb sends to open up on choruses. Check that verses feel intimate and choruses feel expansive.
Step 5: Final vibe check at low volume.
Turn your monitors down to conversation level. Over-automation becomes obvious at low volumes — if something feels jerky or unnatural, it is. Trust this check. It's the same principle behind choosing the right studio headphones for critical listening: a reference that doesn't flatter is your most honest tool.
Conclusion: Automation Is Not Optional
A mix without volume automation is a rough draft. That's not an exaggeration — it's just the reality of how professional music is made in 2026. The good news is that the workflow above is learnable, repeatable, and genuinely fun once it clicks.
Start small. Pick one song. Get the static balance right, insert a Gain plugin on the vocal, and do one honest ride in Latch mode. Listen back. The difference will be immediate and it will change how you approach every mix from that point forward.
Your next steps:
- Read the guide to how to EQ vocals — automation and EQ work together, and understanding both makes each more effective
- Check the LUFS guide for streaming platforms to understand how your automated mix will translate to Spotify and Apple Music
- Bookmark the difference between mixing and mastering so you know exactly where automation fits in the bigger picture
The faders are waiting. Go ride them.
Frequently Asked Questions
Should I automate volume before or after EQ?
Automate a Gain plugin before the EQ and compressor for corrective level rides. Automate the channel fader after all processing for final mix balance adjustments. These are two separate jobs — keep them on separate controls.
What is the best DAW for volume automation?
Pro Tools, Ableton Live, Logic Pro X, and Reaper all handle volume automation excellently. The best DAW is the one you already know. Automation workflow differences between them are minor compared to the skill of the engineer using them.
How much volume increase should a chorus have?
Usually 1 to 2 dB on the music bus is enough. More than 2 dB often sounds like a level jump rather than an energy surge. The goal is perceived excitement, not loudness.
Why is my vocal automation pumping?
Pumping usually means the compressor is reacting to inconsistent input levels. Add a Gain plugin before the compressor and automate it to reduce the dynamic range of the vocal before it hits the compressor. This is the pre-compression ride technique described above.
Can I automate reverb and delay sends?
Yes — and you should. Automating send levels is one of the most effective ways to control the sense of space in a mix. Keep verses dry, open up the sends on choruses, and the contrast does the emotional work for you.
Is volume automation the same as compression?
No. Compression is an automatic, real-time response to signal peaks. Volume automation is a deliberate, manually drawn set of level changes over time. They complement each other — automation reduces the work compression has to do, and compression handles fast transients that automation can't catch.
What's the difference between automating the fader vs. a Gain plugin?
The channel fader controls the final output level. Automating it locks it in place, making later balance adjustments difficult. A Gain plugin at the top of the chain keeps the fader free for big-picture decisions. Always use the Gain plugin for corrective automation.
Do professional engineers really ride faders manually?
Yes. Even with AI tools like Waves Vocal Rider available, most professional engineers still perform manual rides for lead vocals. The AI handles the rough leveling pass; the human handles the emotional shape of the performance.
Interactive Tool
Which Automation Mode Should I Use?
Answer two quick questions and get the right automation mode for your situation.

An alternative to volume automation is compression you can learn more about compression and how to use it in our Compression Guide post.


