
Quick Answer: Mixing a song in a home studio means balancing the volume, EQ, compression, and spatial effects of every individual track so they work together as one cohesive piece of audio. You don't need a professional space to do it well — you need the right process, the right monitoring setup, and a clear understanding of what each step is actually doing to your sound.
Contents show
Key Takeaways
- Mixing blends individual tracks into one stereo file. Mastering optimizes that file for streaming platforms. They are two separate stages.
- Level balancing with faders alone — before touching a single plugin — is the most underrated skill in home studio mixing.
- High-pass filtering non-bass instruments is the fastest way to clean up a muddy mix.
- An untreated bedroom is a real problem, but open-back headphones with calibration software can bypass it entirely.
- Sidechain compression between the kick drum and bass guitar is the single biggest low-end clarity trick in modern production.
- AI mixing tools like iZotope Neutron are useful starting points, but your ears make the final call.
- Keep 3–6dB of headroom on your master bus for the mastering engineer, and don't exceed -14 LUFS integrated on rough streaming demos.
- Translation checks — mono summing, reference tracks, and playback on multiple speakers — are non-negotiable before you export.
What Is Mixing, and How Is It Different from Mastering?
Mixing is the process of taking every individual recorded track — vocals, drums, guitars, synths — and balancing, equalizing, and blending them into a single, cohesive stereo (or spatial audio) file. Mastering is the separate final stage that takes that mixed file and optimizes its loudness, EQ, and dynamics for commercial distribution on platforms like Spotify or Apple Music.
This trips up a lot of beginners. They finish a rough mix, slap a limiter on the master bus, and call it mastered. That's not mastering — that's just limiting. The two stages have completely different goals:
| Stage | Input | Output | Goal |
|---|---|---|---|
| Mixing | Multi-track session (20–80+ tracks) | One stereo mix file | Balance, clarity, emotion |
| Mastering | One stereo mix file | Distribution-ready audio | Loudness, consistency, format |
For a deeper dive into what happens after your mix is done, check out this guide on how to master a song in a home studio — and if you want the full conceptual breakdown, the complete guide to what mastering actually is is worth reading before you export anything.
What Basic Equipment Do You Need to Mix Music at Home?
You need three things to mix a song in a home studio: a computer running a DAW, a way to monitor audio accurately, and an audio interface to connect everything. That's the honest minimum.
Here's the practical breakdown:
- DAW (Digital Audio Workstation): This is the software where all the mixing happens. Logic Pro, Ableton Live, and FL Studio are popular paid options. Free alternatives like GarageBand (Mac only) or Reaper are genuinely capable for mixing. See the best DAW software options for 2026 to find the right fit.
- Studio Monitors or Headphones: You need accurate playback. Consumer speakers color the sound and will mislead your ears. Check out the best studio monitors for every budget or the best studio headphones if you're going the headphone route.
- Audio Interface: This converts your analog signals to digital and back. A solid entry-level interface runs $100–$200. The best audio interfaces under $200 covers the top picks.
- Plugins: EQ, compression, and reverb are the core three. Most DAWs include usable stock versions of all of these.
Common mistake: Buying expensive plugins before learning the stock ones. The stock EQ in Logic Pro or Ableton is more than capable for learning. Gear doesn't fix ears.
How Much Does a Home Studio Mixing Setup Cost?
A functional home studio mixing setup costs anywhere from $300 to $1,500 depending on whether you already own a computer. Here's a realistic breakdown:
- Budget tier ($300–$500): Entry-level audio interface, a decent pair of closed-back headphones, and a free DAW. Enough to learn the fundamentals.
- Mid tier ($500–$1,000): Better interface, open-back headphones or a pair of studio monitors, and a paid DAW with solid stock plugins.
- Solid home studio ($1,000–$1,500): Studio monitors, acoustic treatment basics, a quality interface, and a few third-party plugins.
Use the home studio budget calculator to build a realistic gear list based on what you already own. And if you want a full cost breakdown, the complete guide to home recording studio costs breaks it down category by category.
The Listening Environment: Can You Mix a Song with Just Headphones?
Yes — and in 2026, headphones are often the smarter choice for home studio mixing. High-quality open-back headphones paired with calibration software like Sonarworks SoundID Reference or Slate VSX can completely bypass the acoustic problems of an untreated room.
Here's why this matters. A typical bedroom causes two big problems:
- Low-frequency buildup: Bass frequencies bounce between parallel walls and pile up at certain spots in the room, making your mix sound bassier than it actually is. You compensate by cutting bass — then your mix sounds thin everywhere else.
- Flutter echoes: Hard surfaces create rapid reflections that smear transients and muddy the stereo image.
If you're using monitors, position them so you and the two speakers form an equilateral triangle — equal distance between all three points, with the tweeters aimed at ear height. This is the foundation of accurate stereo imaging.
If you're mixing on headphones, open-back designs (like the Sennheiser HD 600 or Beyerdynamic DT 990 Pro) give you a more realistic stereo field than closed-back cans. Pair them with calibration software and you've got a genuinely accurate monitoring setup.
For anyone serious about fixing their room acoustics, the complete acoustic treatment guide for home studios is the place to start — and DIY bass traps are the most cost-effective first fix for low-end buildup.
Phase 1: How to Mix a Song in a Home Studio — Pre-Mix Prep
Before a single plugin gets touched, the session needs to be clean and organized. This part trips a lot of people up because it feels like admin work. It's not. It's the foundation everything else is built on.
Step 1: Organize the session
Name every track clearly ("Lead Vox_Main", "Kick_In", "GTR_Rhythm_L"). Color-code by instrument group — drums in red, bass in blue, vocals in yellow, guitars in green. Route instrument groups to submix busses so you can control the drum level with one fader instead of twelve.
Step 2: Gain staging
Use clip gain to bring individual audio regions to an average of -18dBFS to -12dBFS before the signal hits any plugin. This gives your plugins the headroom they need to process cleanly without internal clipping. Skipping this step is one of the most common mixing mistakes beginners make.
Step 3: Audio cleanup
Cut silence between phrases. Apply short crossfades at edit points to prevent clicks. Use a gate plugin on multi-miked drums to reduce bleed between mics. If a vocal take has room noise or hum, AI noise reduction tools like iZotope RX handle this faster than manual editing.
Step 4: Phase alignment
On any multi-mic recording (snare top/bottom, layered synths, room mics), flip the polarity (the ø button) on one of the mics. If the low end gets thicker and punchier — keep it flipped. If it gets thinner, flip it back. This is a 10-second check that can transform your low-end clarity.

Phase 2: Building the Static Mix — What Levels Should Vocals and Instruments Be At?
There's no universal dB number that works for every mix. But there is a universal process: build the balance with faders only, before any EQ or compression. This is the static mix, and it's where most of the real mixing work actually happens.
Start in mono at a low listening volume. Bring up the kick drum first, then the snare, then the bass. These three elements form the rhythmic and harmonic foundation of almost every genre. Once that relationship feels solid, bring in the lead vocal. Everything else gets placed around those anchors.
Panning guidelines:
- Kick, bass, and lead vocal: center (0)
- Rhythm guitars, wide synths: hard left and right (±70–100)
- Backing vocals, percussion: mid-wide (±30–60)
- Hi-hats, overheads: slightly off-center (±20–40)
The rule: If something disappears when you pan it, it has a phase problem. Fix it before moving on.
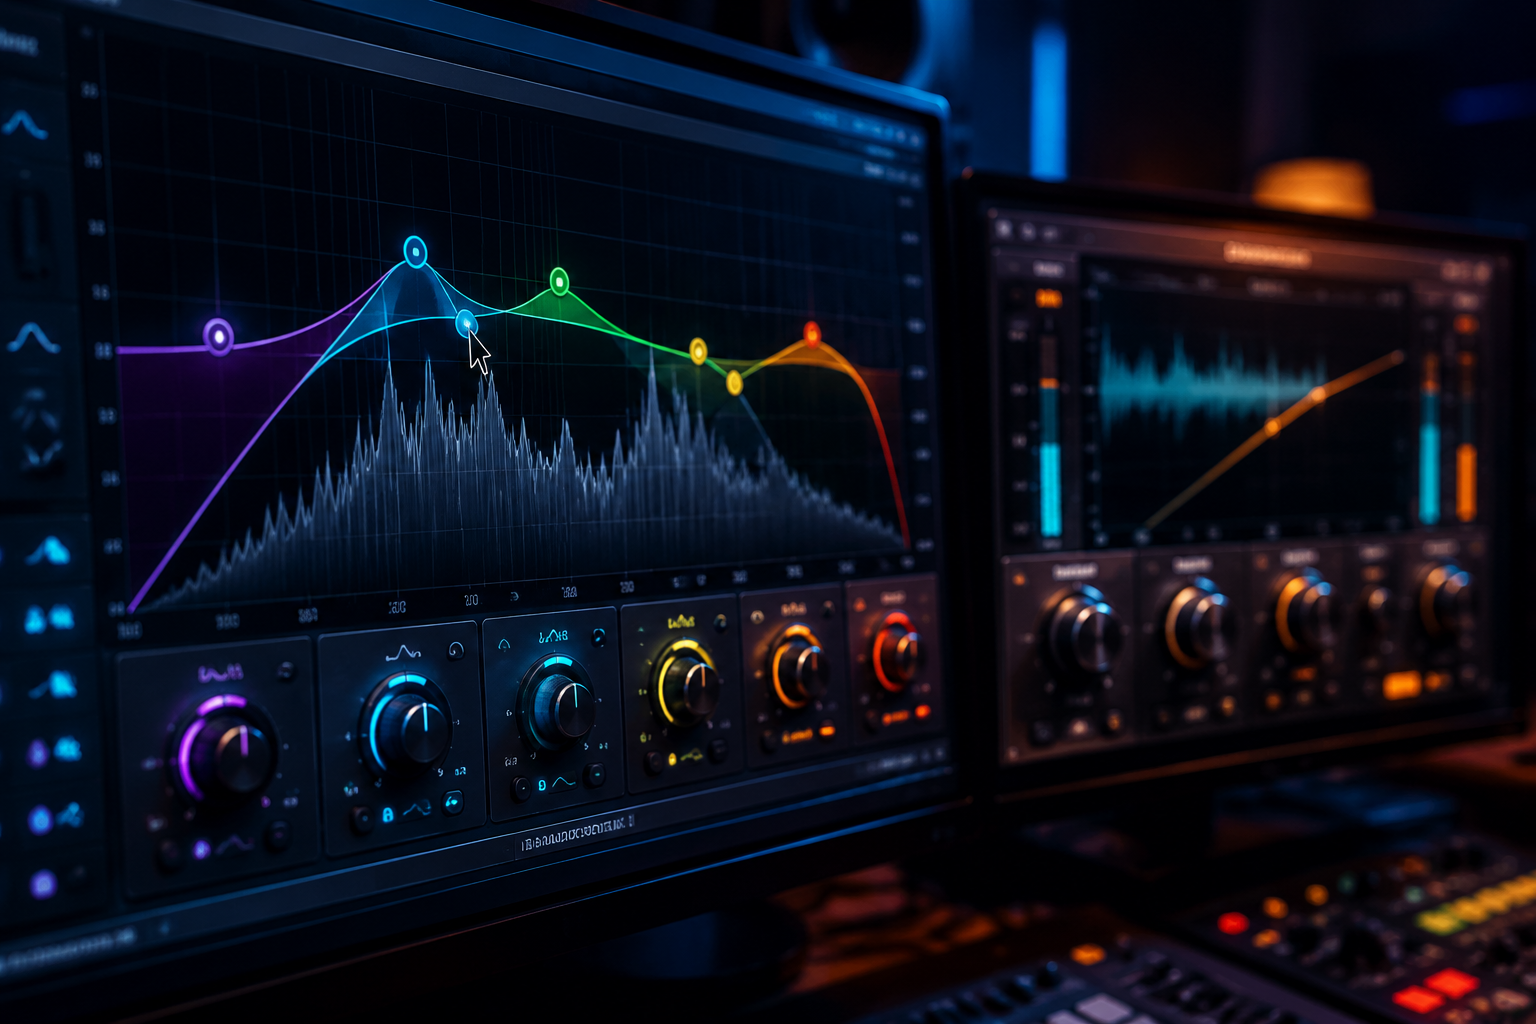
Phase 3: EQ — How to Fix Muddy or Unclear Sound in a Mix
Muddiness is almost always caused by excessive low-mid frequencies (200Hz–500Hz) stacking up across multiple tracks. The fix is systematic, not surgical.
High-pass filtering first. Put a high-pass filter on every channel except the kick and bass guitar. Cut vocals below 100Hz, guitars below 150Hz, synth pads below 80Hz. This removes low-end rumble that's invisible on the meters but destroys headroom and clarity in the mix.
Then apply subtractive EQ — cut the problem frequencies before boosting anything you like. Here's a practical reference:
| Instrument | Cut Here (Mud/Harshness) | Boost Here (Body/Clarity) |
|---|---|---|
| Kick Drum | 300–500Hz (boxiness) | 60–80Hz (thump), 3–5kHz (click) |
| Bass Guitar | 250–400Hz (muddiness) | 80–100Hz (weight), 1kHz (definition) |
| Snare Drum | 400Hz (ring/boxiness) | 150–200Hz (body), 5kHz (sizzle) |
| Lead Vocal | 200–500Hz (room mud) | 2–4kHz (presence), 10kHz+ (air) |
For a deeper frequency reference, the EQ frequency cheat sheet covers every major instrument group in detail.
Phase 4: Compression and the Sidechain Secret
Compression controls the dynamic range of a track — the difference between the loudest and quietest moments. For vocals, a medium attack (10–30ms) and fast release (50–100ms) keeps the performance upfront and intelligible without squashing the emotion out of it.
Parallel compression for drums is worth learning early. Duplicate your drum bus, compress the duplicate heavily (high ratio, fast attack), then blend it back under the uncompressed signal. You get punch and density without losing the natural snap of the transients.
The sidechain trick is the single biggest low-end clarity move in modern mixing. Set up the bass guitar's compressor to be triggered by the kick drum signal. Every time the kick hits, the bass ducks by 2–3dB automatically. The kick and bass stop fighting for the same space, and the low end suddenly sounds like a professional mix. For a full walkthrough of how sidechaining works, this sidechaining guide breaks down the routing step by step.
Phase 5: Reverb, Delay, and Spatial Design
Don't put reverb directly on a vocal track as an insert. This is one of the most common mixing mistakes beginners make — and it makes the mix sound washy and unfocused.
Instead, create a dedicated Aux Return track with the reverb plugin set to 100% wet. Then "send" varying amounts from each instrument to that shared reverb. This puts every instrument in the same acoustic space, which is what makes a mix sound cohesive rather than like a collection of separately recorded parts.
The pre-delay trick: Add 20–30ms of pre-delay to your vocal reverb. This lets the dry vocal hit the listener's ear first before the reverb blooms behind it. The vocal stays upfront and intimate. Without pre-delay, the reverb and the dry signal arrive together and the vocal gets buried.
Phase 6: AI Mixing Tools — The 2026 Workflow
AI mixing assistants are now a standard part of professional and home studio workflows. Tools like iZotope Neutron, Sonible smart:comp, and LANDR's AI mastering can analyze your mix and suggest gain, EQ, and compression settings in seconds.
Use AI as a starting point, not a finish line. These tools are genuinely useful for:
- Finding frequency conflicts between competing instruments (like a kick and bass fighting at 80Hz)
- Automating tedious cleanup tasks (noise reduction, de-essing)
- Getting a rough balance quickly when you're stuck
But AI can't feel whether the chorus hits emotionally. It can't tell if the vocal needs to be 1dB louder to match the energy of the bridge. That's your job. Use reference tracks — import a commercially released song in the same genre, level-match it to your mix, and A/B them honestly.
Phase 7: Translation Checks Before You Export
A mix that sounds great in your studio but falls apart on earbuds hasn't been mixed — it's been fooled. Translation is everything.
The mono check: Sum your master bus to mono. Wide rhythm guitars and backing vocals should still be audible. If they disappear, they have phase issues that will cause problems on mono playback devices (which is still most phone speakers).
Loudness standards: The streaming world runs on LUFS (Loudness Units Full Scale), not peak dB. Spotify normalizes to -14 LUFS integrated. Apple Music targets -16 LUFS. If you're bouncing a rough demo for streaming, keep the integrated LUFS around -14 and leave 3–6dB of peak headroom on the master bus for the mastering engineer. The LUFS guide for streaming platforms covers every major platform's target in one place.
Play the mix back on phone speakers, earbuds, a Bluetooth speaker, and your car stereo. If it translates across all four, it's ready.
Best Free Software for Mixing Songs
The best free DAW for mixing depends on your operating system and workflow. GarageBand is genuinely capable for Mac users and costs nothing. Reaper offers a full-featured trial that most users never pay to upgrade (though the license is only $60). Cakewalk by BandLab is free and surprisingly powerful for Windows users.
For free plugins, there are excellent options across every category — EQ, compression, reverb, and saturation. The best free plugins guide covers the ones actually worth downloading, and the best free DAW options compares the top platforms side by side.
Choose free software if: you're learning the fundamentals and don't want to spend money before you know what you need. The DAW matters far less than the person using it.
How Long Does It Take to Learn Music Mixing?
Expect to spend 3–6 months before your mixes start sounding consistently clean, and 1–2 years before you develop a reliable, personal workflow. That's not discouraging — it's realistic, and knowing the timeline helps you stay patient.
The learning curve breaks down roughly like this:
- Month 1–2: Understanding gain staging, basic EQ, and session organization. Mixes will still sound amateur, but they'll be cleaner.
- Month 3–6: Compression starts making sense. You can identify frequency problems by ear. Mixes translate better across speakers.
- Year 1–2: Spatial design, advanced dynamics, and genre-specific techniques click into place. You develop taste and speed.
The fastest way to improve is to mix a lot of songs, reference them against professional tracks, and listen critically to what's different. Not what's wrong — what's different. That distinction matters.
What Plugins Do Professional Producers Use?
Professional producers use a mix of industry-standard paid plugins and surprisingly capable stock tools. The most common categories and examples:
- EQ: FabFilter Pro-Q 3, Waves SSL G-Channel, stock Logic Channel EQ
- Compression: Universal Audio 1176, Waves SSL G-Bus Compressor, Sonible smart:comp
- Reverb: Valhalla Room, Lexicon PCM Native, FabFilter Pro-R
- Saturation/Harmonic Excitation: Soundtoys Decapitator, UAD Neve 1073
- AI-assisted: iZotope Neutron 4, LANDR FX
The honest truth? The plugin matters less than understanding what it's doing. A producer who understands compression will get better results from a free stock compressor than a beginner will from a $300 plugin they don't understand.
How to Make Home Recordings Sound Professional
Professional-sounding home recordings start before the mix — they start at the recording stage. A great mix can only work with what it's given. If you want to know how to mix a song in a home studio and have it sound like it belongs on a playlist, the recording quality is the ceiling.
Key habits that close the gap between home and pro:
- Record in the best acoustic environment you can. Even hanging thick blankets behind the vocalist makes a measurable difference.
- Nail gain staging at the recording stage — not just in the mix.
- Use reference tracks constantly — not just at the end.
- Learn to hear, not just see. Trust your ears over the meters.
- Mix at low volumes — your ears fatigue fast, and low-volume decisions translate better.
For the full recording side of things, the 9-step guide to recording music at home like a pro is the logical companion to this mixing guide.
Mixing Techniques for Different Music Genres
The core mixing process is the same across genres, but the priorities shift significantly depending on the style.
- Hip-hop and trap: Low-end is king. The kick and 808 relationship is everything. Sidechain compression is essential. Vocals sit bright and present, often with heavy saturation.
- Rock and metal: Guitar density is the challenge. Hard panning and frequency carving between rhythm guitars prevent the mix from turning into a wall of mud. Drum transients need to punch through.
- Pop: Vocals are always the loudest, clearest element. Wide stereo field on synths and backing vocals. Heavy use of automation to keep the energy building through the song.
- Acoustic/folk: Minimal processing. The goal is transparency. Room sound matters. Compression should be gentle and invisible.
- Electronic/EDM: Sidechain pumping is often a creative effect, not just a technical fix. Stereo width and sub-bass management are the primary challenges.
The rule across all genres: Serve the song. The best mix is the one the listener never notices.
Frequently Asked Questions
Why does my home studio mix sound muddy?
Excessive low-mid frequencies (200Hz–500Hz) stacking up across multiple tracks is the most common cause. High-pass filter every non-bass instrument and use sidechain compression between the kick and bass. Those two moves alone fix most muddy mixes.
Are headphones accurate enough for mixing music?
Yes. High-quality open-back studio headphones combined with calibration software like Sonarworks SoundID Reference provide a flat, accurate response that often outperforms expensive monitors in an untreated bedroom.
Should I put plugins on my master bus while mixing?
Use master bus processing sparingly. A gentle bus compressor at 1.5:1 ratio with 1–2dB of gain reduction can glue the mix together. Avoid heavy limiters or dramatic EQ moves — they rob the mastering engineer of headroom and flexibility.
What's the right order of plugins on a channel strip?
The most common signal chain is: Noise Gate → EQ → Compression → Saturation → Modulation/FX. This isn't a rigid law, but it's a logical starting point for most instruments.
How loud should the lead vocal be in a mix?
The lead vocal should be the loudest melodic element in the mix, typically sitting 2–4dB above the instrumental bed. The exact level depends on the genre and the emotional intent of the song — a whispered verse vocal sits differently than a belted chorus.
What is gain staging and why does it matter?
Gain staging is the process of setting the input and output levels at every stage of your signal chain so nothing clips and every plugin operates in its optimal range. Skipping it causes distortion, noise, and plugins that behave unpredictably.
Do I need acoustic treatment to mix at home?
Acoustic treatment significantly improves the accuracy of your monitoring environment, but it's not mandatory if you're mixing on calibrated headphones. If you're using monitors, some treatment — especially bass traps in corners — makes a measurable difference.
What does "mix translation" mean?
Translation refers to how well a mix sounds across different playback systems — earbuds, car stereos, phone speakers, club systems. A mix with good translation sounds balanced and clear everywhere, not just in the studio where it was made.
Can I mix and master my own song?
Yes, and many independent artists do. The challenge is objectivity — it's hard to hear your own mix clearly after hours of working on it. Taking a break (ideally overnight) before mastering helps reset your ears. For a detailed walkthrough, see the difference between mixing and mastering explained in full.
What's the biggest mistake beginners make when mixing?
Reaching for plugins before establishing a solid fader balance. Level balancing is the core of mixing. If the balance isn't right, no amount of EQ or compression will fix it.
Conclusion
Learning how to mix a song in a home studio is a skill that compounds. Every mix teaches you something the last one didn't. The process outlined here — pre-mix prep, static mix, EQ, compression, spatial design, AI tools, and translation checks — gives you a repeatable framework that works across genres and session sizes.
Your next steps:
- Open your current session and organize it before touching a single plugin.
- Reset your gain staging to -18dBFS to -12dBFS across every track.
- Build a fader balance in mono before adding any processing.
- High-pass filter every non-bass instrument.
- Reference a professional track in the same genre and A/B honestly.
The gap between a bedroom mix and a professional one isn't gear. It's process, patience, and trained ears. Start with the process. The ears follow.


